If you’re having issues starting your car, or your electrical features aren’t functioning properly, you may need to replace your alternator.
- How to tell when your car battery must be replaced
- Tips to Tackle Your First Big Car Repair From A Fellow Rookie
Replacing your alternator can save you money in the long run, once you have the required equipment. This is a small investment that will help you get to know more about how your vehicle works.
There’s a telltale test you should run to see if you should replace your alternator in the first place and we’ll show you how in this blog. We’ll also show you how to replace an alternator should it be damaged.
Does my alternator have a problem?
A failing alternator can be confused with a dying battery or starter — all three can cause your vehicle to have difficulty starting. Remember that your starter is responsible for getting your engine to turn over, while your alternator is responsible for keeping your battery charged.
When an alternator is dead or dying, there are some obvious signs that something is going wrong. Dim accessory and dashboard lights are a sign your alternator isn’t fully charging your battery enough to produce the proper electricity. Other signs of a faulty alternator include a burnt rubber smell, and a loud grinding noise when the engine is on. If your battery is giving you trouble, the alternator could be the cause.
How can I test my alternator?
Before you consider replacing the alternator, you’re going to want to test it. You’ll need a digital multimeter and battery charger to gauge how much energy is left — these are available at local automotive stores. Though pricey, these products are a good investment, saving you hundreds of dollars over time.
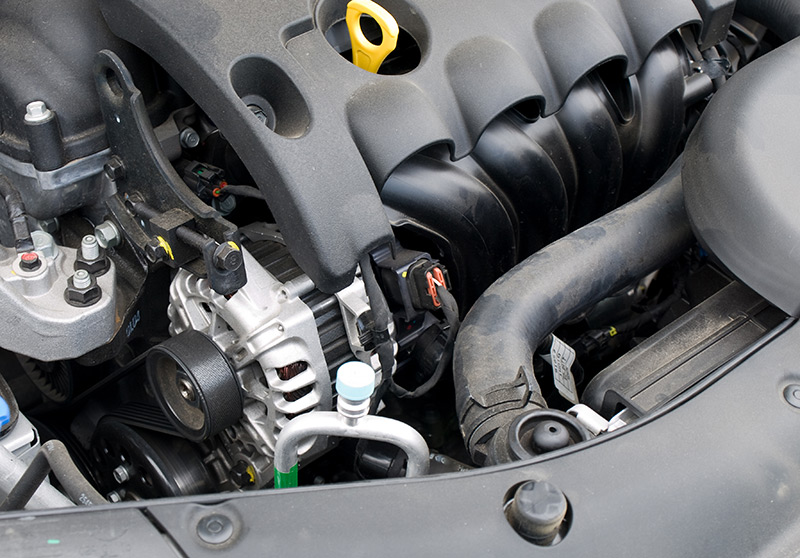
To start, get clear access to the car battery, and check the alternator belt to make sure it isn’t loose or slipping. Prepare your multimeter by changing it to the 20 V setting. Start your engine and hold the positive multimeter probe to the red terminal connector to gauge.
Next, hold the black multimeter probe to any metal part of your car frame (e.g. a bolt head), making sure not to ground the alternator itself. You should have a reading on your multimeter display. Around 14 volts is your goal, while a much higher voltage of 15 or more volts can indicate a faulty alternator. If the reading is low, you may need to rev your engine faster for more accurate results.
How can I replace my alternator?
If your voltage is high, and you’re looking to replace your alternator, you must use the proper tools. You’ll need a new alternator, electric-grade rubber gloves for protection, a socket and ratchet set, and a wrench set for alternator removal and installation. You’ll also want a belt tensioner tool to test the belt’s strength, and tape for labelling removed wires.

Like other repairs, your engine must be off when you replace your alternator. Inspect the alternator belt – it should be in good condition, without cracks and frays. There are two types of belts – serpentine (straight and ribbed on one side) or a V-belt (set up in a V-shape, found in older cars). The next few steps will cover replacing a serpentine belt.
Disconnect the negative battery cable. Locate the belt tensioner and loosen it. Don’t let the spring-loaded tensioner snap back while you work because it can easily injure or trap your hand. Loosen the belt and remove it. Inspect the tensioner and replace it, if damaged. Remove the wiring harness, connectors and fasteners, labelling each wire with tape so that you’ll know where to reconnect them.
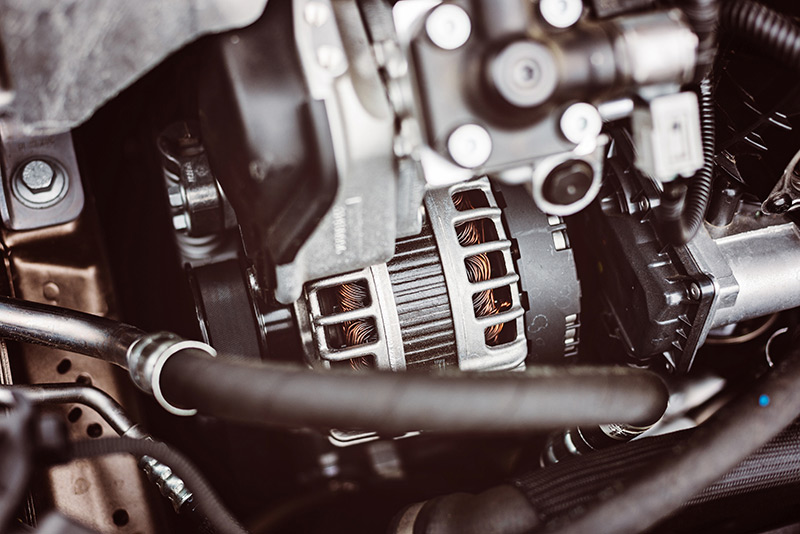
Loosen and remove the old alternator (and remove the V-belt, should you have one). Install the new alternator and belt by reversing your steps, carefully screwing and securing them back in place. Reconnect the negative battery terminal and start your engine. Test the alternator again with your digital multimeter.
Swapping out your alternator can be a simple task. If your vehicle continues to have difficulties starting or holding a charge after you replace the alternator, you should test your battery. It may need to be replaced.
Leave a Reply